Air assist is done with nitrogen or oxygen in commercial setups but for hobbyists and low volume work plain air is fine. What you want it to have a good powerful jet of air hitting exactly where the laser is hitting. On many units the air assist is turned on and off by the computer program and the air control head is mounted next to the laser head.
A narrower nozzle on your big hose will do much of the same thing for marking blades and light cutting. An air compressor is used to create a high-pressure air flow. For our uses a good volume of air like what you have is usually sufficient.
From what I understand it is very useful on wood and some other things to prevent fogging and smoke traces around the burn. On some things like metal, it may ... or may not ... make a clearer mark. On metal items like we do air assist probably won't help and a good airflow is more important. Test some marks with close air assist and without.
What is most important is to have a complete removal of the smoke and fumes AWAY FROM THE LASER LENS. The lens can be fogged and damaged by the smoke and fumes. You want the smoke/fumes pulled or blasted away from the laser beam and away from the lens. That is why a downdraft table is good. Your present setup with a powerful flow of air toward the laser and a powerful exhaust will work fine, but you might want to try the cheap downdraft box and see if you like it better.
A plus for a downdraft box is that it works great for sanding. Make one and put a piece of 1/4" wire mesh or perforated metal over it and do sanding and such on it. Al the dust is pulled down and away with no mess and the bench stays spotless. You can make the same setup from a HF rolling cart and place the screen or metal top on a frame that fits the top of the cart. Hook the port to the underside of the cart top and plug in the shop vac or vac hose. Roll it away when not sanding. You can store all your sanding supplies under the cart on the lower shelves. You can roll the cart under the grinder platen for sanding handles and blocks.
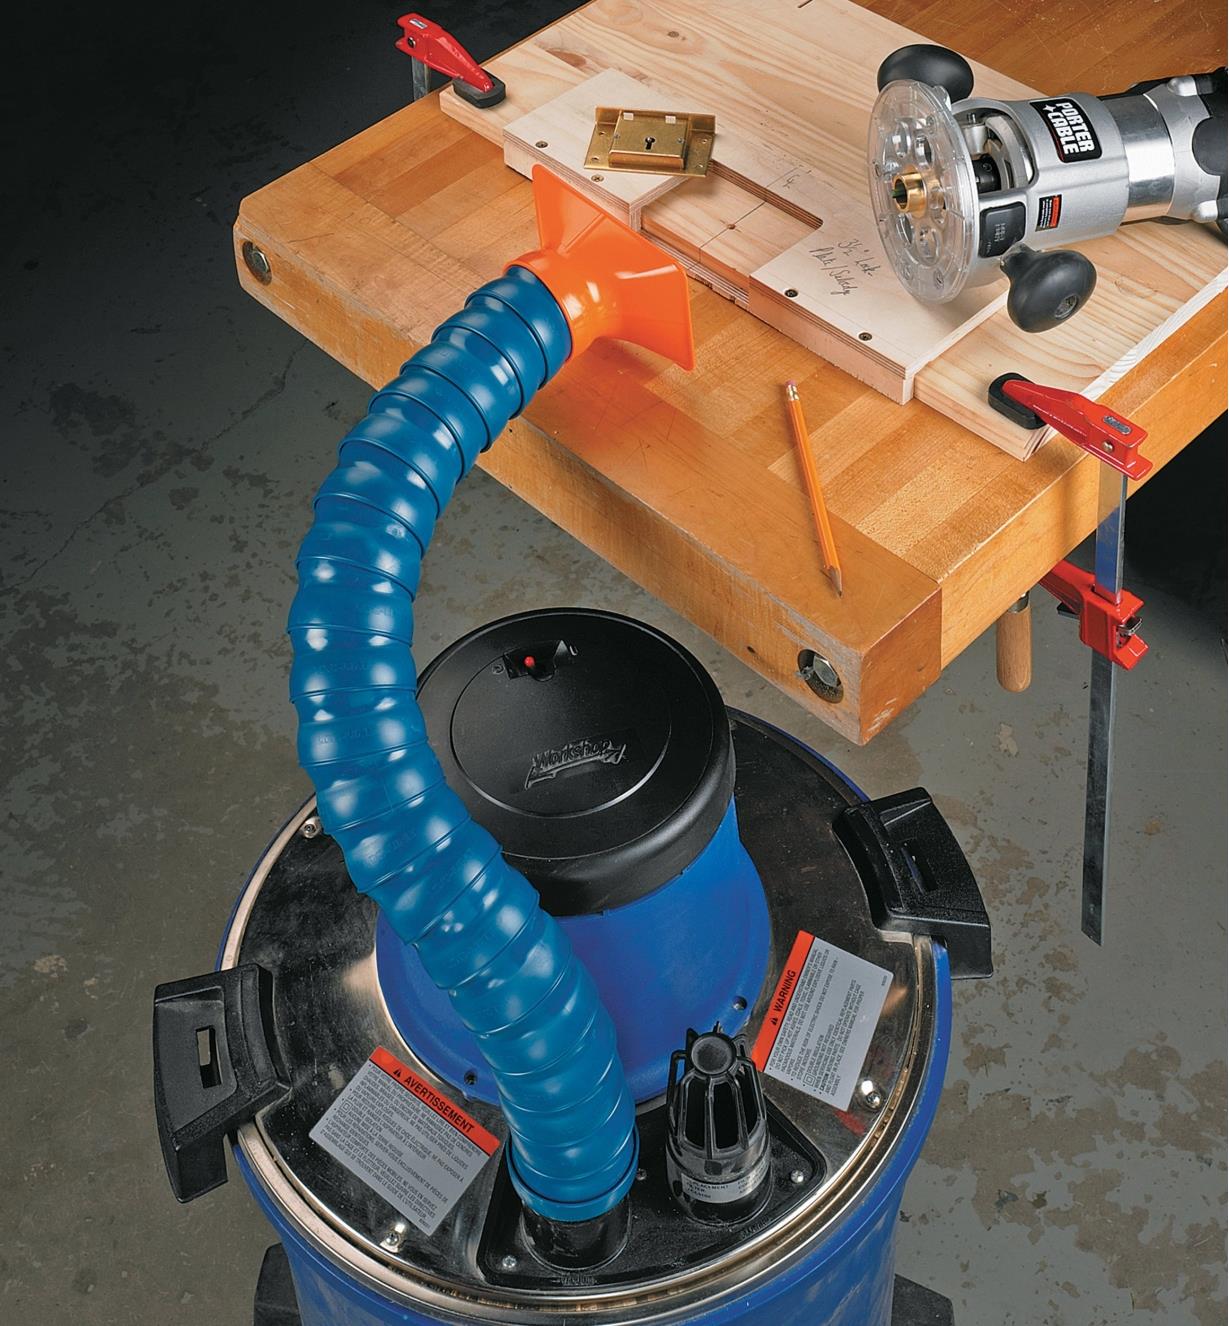
I can't remember who made it (Woodriver?) but there is a flexible hose nozzle that looks a bit like an armadillo tail that can be positioned where you want it. Another type has multiple 90 degree bent segments that snap together like Legos. You can articulate it as needed. McMaster-Carr and other industrial suppliers probably have them.
Woodcraft and other suppliers sell semi-rigid articulated hose end attachment that can be positioned where you want it.
Below is an image from Amazon that should give you some ideas
This is an inexpensive set of fittings that can be used to make a downdraft box and an air assist jet. Search under
" Powervac shop vacuum nozzle attachments flexible".

")